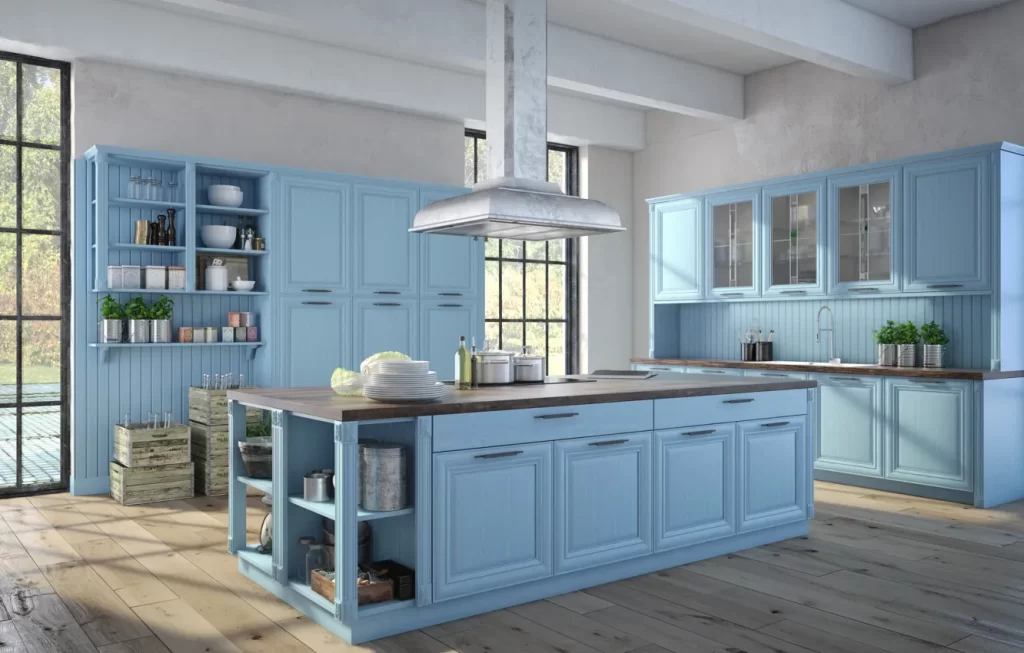
Yes, you can paint kitchen cabinets without removing them, and it’s a great way to give your kitchen a fresh, updated look without the hassle of dismantling everything. While it might seem challenging, with the right preparation and techniques, you can achieve a professional finish without removing the doors or drawers. In this guide, we’ll cover the key steps to painting your cabinets in place, making the process easier and more efficient.

Preparing the Kitchen Cabinets for Painting
Preparation is the most important step when painting kitchen cabinets without removing them. Proper prep ensures that the paint adheres well and that you get a smooth, long-lasting finish.
- Clean the Cabinets: Start by thoroughly cleaning your cabinets to remove any grease, dirt, or residue. Use a degreasing cleaner or a mixture of dish soap and warm water, making sure to scrub all surfaces, especially around handles and high-use areas.
- Sanding: Lightly sand the cabinet surfaces using medium-grit sandpaper (around 120-150 grit). This step roughens up the surface slightly, helping the primer and paint adhere better. Be sure to sand all areas, including corners and edges.
- Masking the Surroundings: Use painter’s tape to cover edges where the cabinets meet the walls, countertops, or floors. This will prevent paint from getting onto surfaces you don’t want painted. You should also cover the floor and nearby appliances with dust sheets or plastic sheeting to protect them from splatters.
Choosing the Right Paint and Tools for Kitchen Cabinet Painting
The type of paint and tools you choose will greatly impact the final outcome of your project. For painting cabinets without removing them, you need to select the right materials to ensure a smooth and durable finish.
- Choosing Paint: Use a high-quality paint designed for cabinetry or woodwork. A satin or semi-gloss finish works well for kitchen cabinets as it’s easy to clean and resistant to moisture. Some people opt for chalk paint, but for a more durable finish, an acrylic latex paint or oil-based paint is often recommended.
- Priming the Cabinets: Applying a primer is crucial, especially if your cabinets are made of wood or previously stained. Primer helps the paint adhere better and prevents stains or wood tannins from bleeding through. Use a high-adhesion primer that’s suitable for kitchens or wood surfaces.
- Tools: For a smooth finish, you’ll want to use a combination of a high-quality brush for edges and corners, and a foam roller for larger flat surfaces. A sprayer can also be used for an even more professional finish, but it requires more setup.
Painting the Kitchen Cabinets
Once the cabinets are prepped and you have your materials ready, it’s time to start painting. Patience is key here, as rushing can lead to uneven results or a finish that doesn’t last.
- Apply Thin Coats: Begin by applying a thin coat of primer, making sure to cover all surfaces. Let it dry completely before sanding lightly with fine-grit sandpaper (around 220 grit) to remove any imperfections. Wipe away dust with a damp cloth.
- Paint in Sections: Start painting your cabinets in sections, focusing on the frame, doors, and drawers one at a time. Use the brush for corners and details, and the foam roller for flat surfaces. Apply thin coats of paint rather than thick ones, as this helps to avoid drips and brush marks. Allow each coat to dry fully before applying the next.
- Final Touches: After applying 2-3 coats of paint, give the cabinets enough time to dry completely (following the paint manufacturer’s instructions). Once dry, remove the painter’s tape and inspect the paint job for any touch-ups that may be needed. You can also add a protective top coat if you want extra durability, especially for a kitchen environment.
Painting kitchen cabinets without removing them can be a time-saving and efficient way to give your kitchen a new look. With the right preparation and a careful approach, you can achieve a professional-quality finish without the extra hassle of taking the cabinets off their hinges.

Leave a Reply